White is the most common background color in product photography, graphic design, and scanned documents. It's also one of the most requested backgrounds to remove. Cutting out a subject from white might sound simple, but white edges, soft shadows, and semi-transparent areas make it tricky to get a clean result without the right tool.
This guide covers how to remove a white background from any image and export a transparent PNG, ready for use in any design, listing, or publishing workflow.

Why White Backgrounds Are Tricky to Remove
White backgrounds feel like they should be the easiest to cut out. In practice, they're harder than they look because of a few specific problems:
Edge blending. Camera lenses and image processing software soften the boundary between a subject and its background. On a white background, the edge pixels are partially white, partially the subject color. A simple "delete white" approach leaves a white halo around the subject.
Shadows and reflections. Product photos often have soft drop shadows or subtle reflections on a white surface. These are semi-transparent, so removing them cleanly requires the AI to make judgment calls at the pixel level.
White objects on white backgrounds. If part of the subject is also white, like a white shirt, white packaging, or a white logo, a basic color-based removal will accidentally delete parts of the subject itself.
AI-powered tools handle these cases much better than manual selection tools, because they identify the subject as a whole rather than just targeting the background color.
How to Remove a White Background from an Image
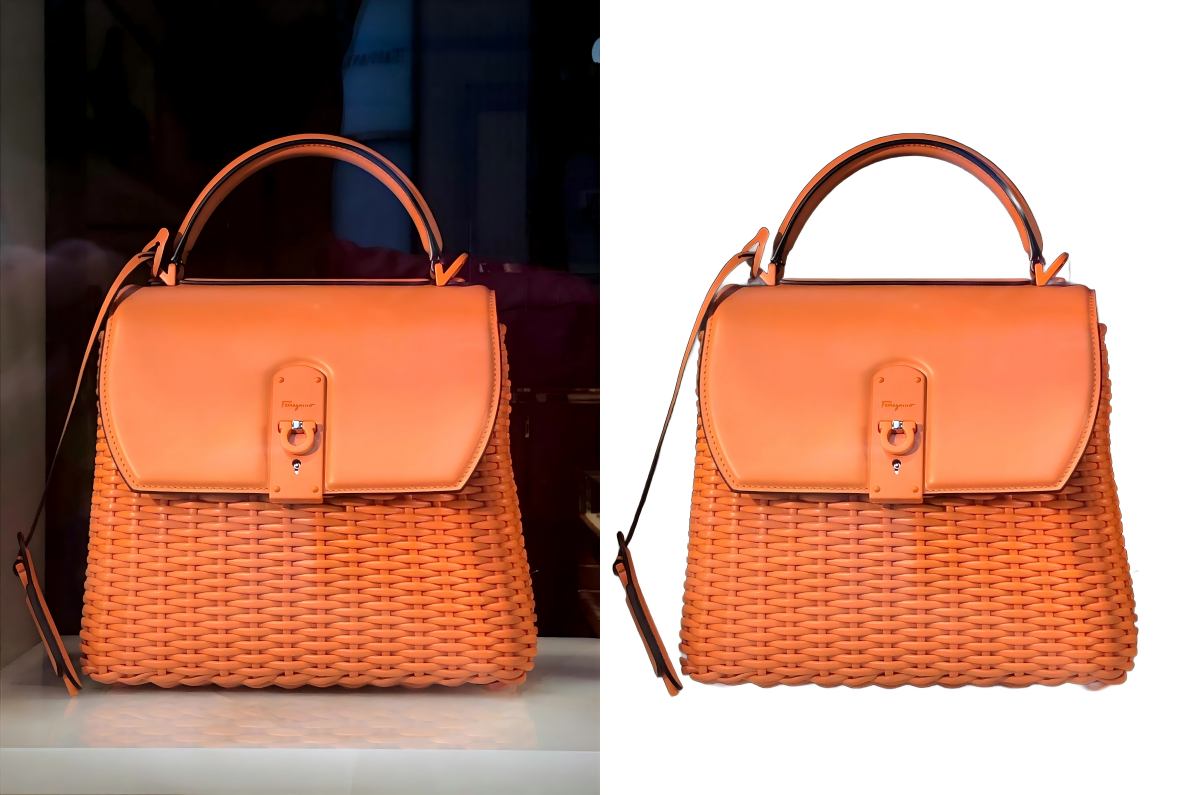
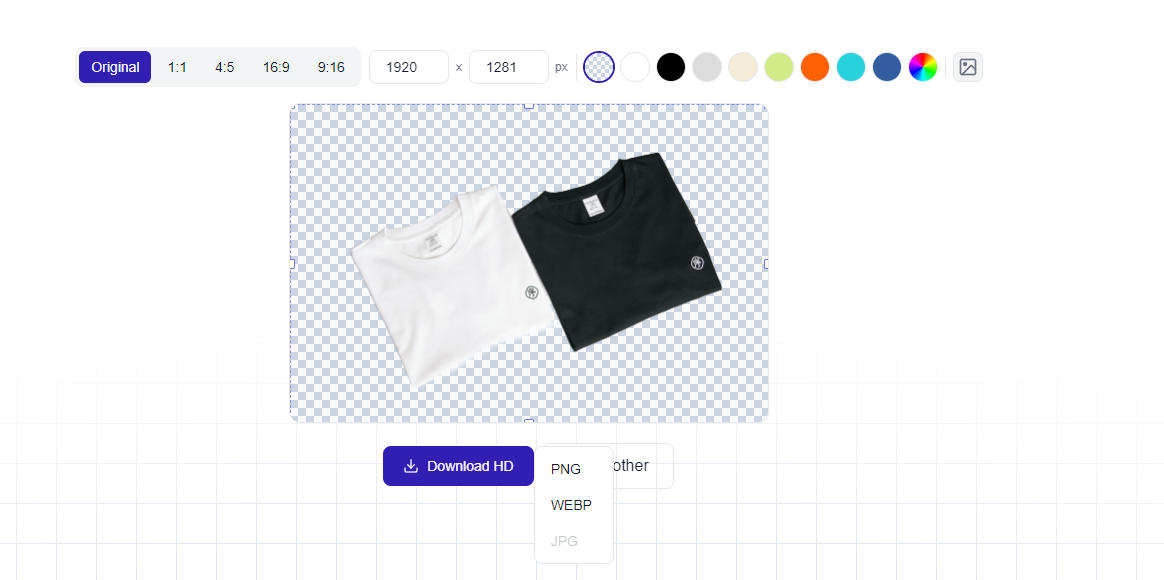
Step 1: Upload your image
Go to BatchRemover and upload your image. Drag it onto the upload area or click to browse your files. JPG, PNG, and WebP are all supported. No account is required for single image processing.

Step 2: Let the AI process it
The AI automatically detects the subject and removes the background. For most product photos and simple compositions, this takes a few seconds. The result is a transparent PNG with the subject cleanly cut out from the white background.
Step 3: Check the edges
Zoom in on the result to check the edge quality, particularly around fine details, hair, or areas where the subject color is close to white. If any edge cleanup is needed, use the erase or restore brush to refine specific areas before downloading.
Step 4: Export as PNG
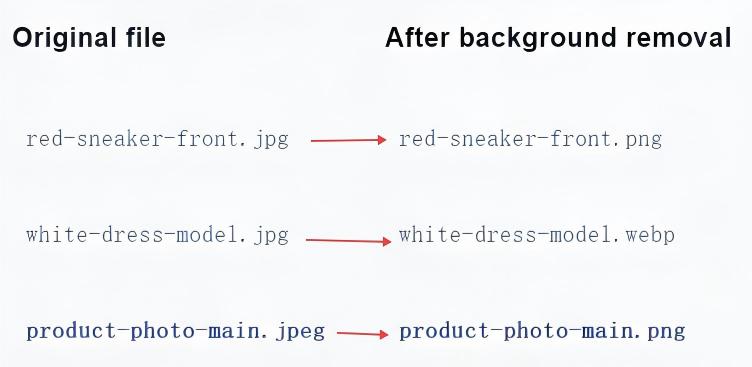
Download the result as PNG to preserve the transparent background. PNG is the only format that supports transparency; JPG and WebP will apply a solid background automatically. If you need a white background rather than transparency, see our guide on how to change an image background to white instead.
When You Need to Remove a White Background
Product photos for e-commerce
Online marketplaces like Amazon, eBay, and Etsy require product images on white backgrounds. But when you have a product already shot on white and want to place it on a different background, or layer it into a scene, you first need to cut it out. Removing the white background gives you the product as a transparent asset you can reuse across any context.
Logos and brand assets
Most logos are delivered on white backgrounds, especially when shared as JPG files. Converting them to transparent PNGs means they can be placed on any colored background, image, or document without the white box showing through.
Scanned documents and signatures
Scanned signatures, stamps, and handwritten elements often come with a white paper background. Removing it creates a transparent asset that can be layered over any document or design without the white patch.
Design and presentation work
When building presentations, social media graphics, or marketing materials, having subjects on transparent backgrounds gives you full control over layout, layering, and composition without white borders getting in the way.
Tips for Getting Clean Results
Start with a high-contrast image. The cleaner the original photo, the better the cutout. A bright, evenly lit white background with a clearly defined subject gives the AI the most signal to work with.
Watch out for white elements in the subject. If your subject contains white areas, check that the AI hasn't accidentally removed parts of it. Use the restore brush to bring back any areas that were over-removed.
Check soft shadows. If your product has a soft shadow on the white background, the AI may partially retain or remove it. Decide whether you want the shadow preserved (if compositing onto a similar surface) or removed (for a clean cutout on any background).
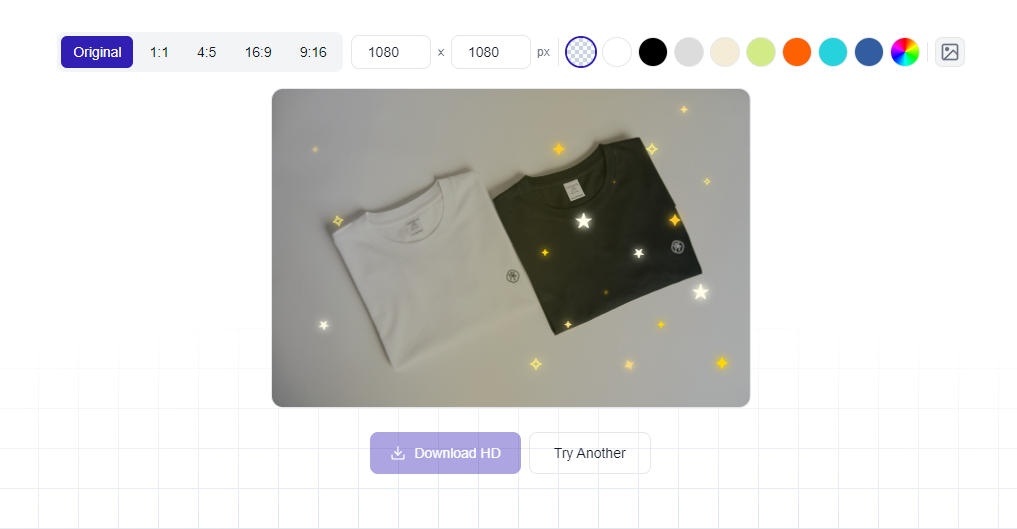
PNG for transparency, JPG for white. If your final use case requires a white background rather than transparency, such as for Amazon listings, you don't need to export as PNG. Set the canvas to white in the editor and export as JPG directly.
Frequently Asked Questions
How do I remove a white background from an image for free?
Go to BatchRemover, upload your image, and download the transparent PNG result. No account required. Single image processing is free with no watermark on the output.
What's the difference between removing a white background and removing any background?
Technically the process is the same: the AI identifies the subject and removes everything else. White backgrounds are a specific case because of edge blending and the risk of removing white parts of the subject. AI tools handle both, but it's worth checking edges more carefully on images with white subjects or soft shadows.
Can I remove the white background from a logo?
Yes. Upload the logo image to BatchRemover and the AI will remove the white background, leaving the logo on a transparent background. Download as PNG and the logo can be placed on any color or image without a white box around it.
Will removing a white background affect the image quality?
No. The background removal process does not compress or resize the image. The output resolution matches the input. The only change is the background, which becomes transparent.
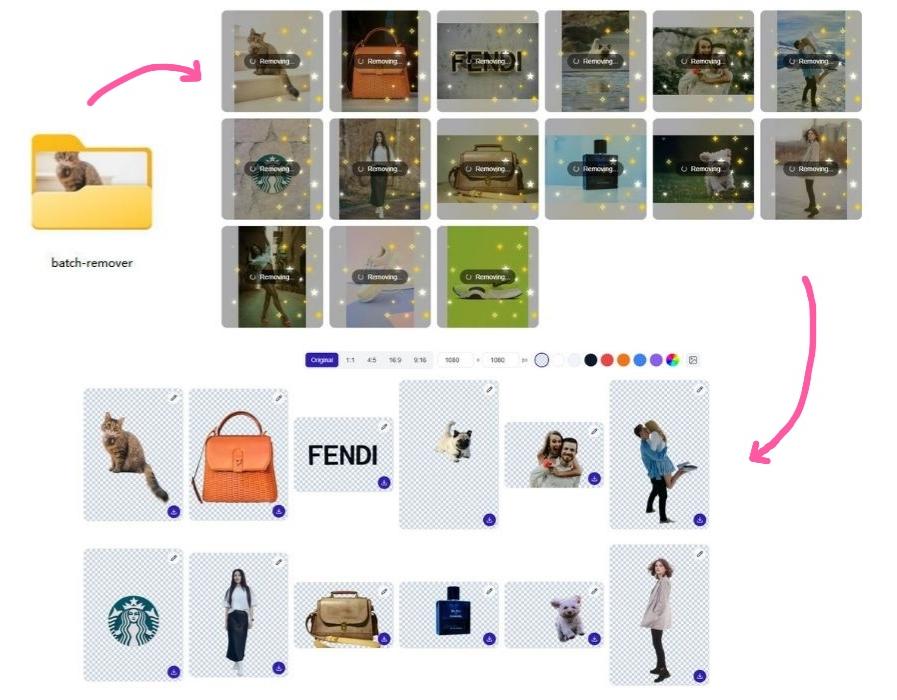
How do I remove white backgrounds from multiple images at once?
Bulk background removal is available on paid plans, letting you upload multiple images and process them all at once. Single image processing is free with no account required.
What format should I use when exporting?
Use PNG for transparent backgrounds. PNG is the only common format that preserves transparency. JPG and WebP do not support transparent pixels; they will fill the transparent area with white or another solid color automatically.
Can I replace the white background with something else after removing it?
Yes. After removing the white background, the editor lets you add a new background: a solid color, a gradient, or a custom image. You can also browse free white background images to replace the removed background directly.